Walkthrough, customize your starter app
If you ran the Quickstart, you already have a running app with a Tasks list in the sidebar. This walkthrough explains what the starter generated and how to change it. If you customized it in Make it yours, those changes stay in place.
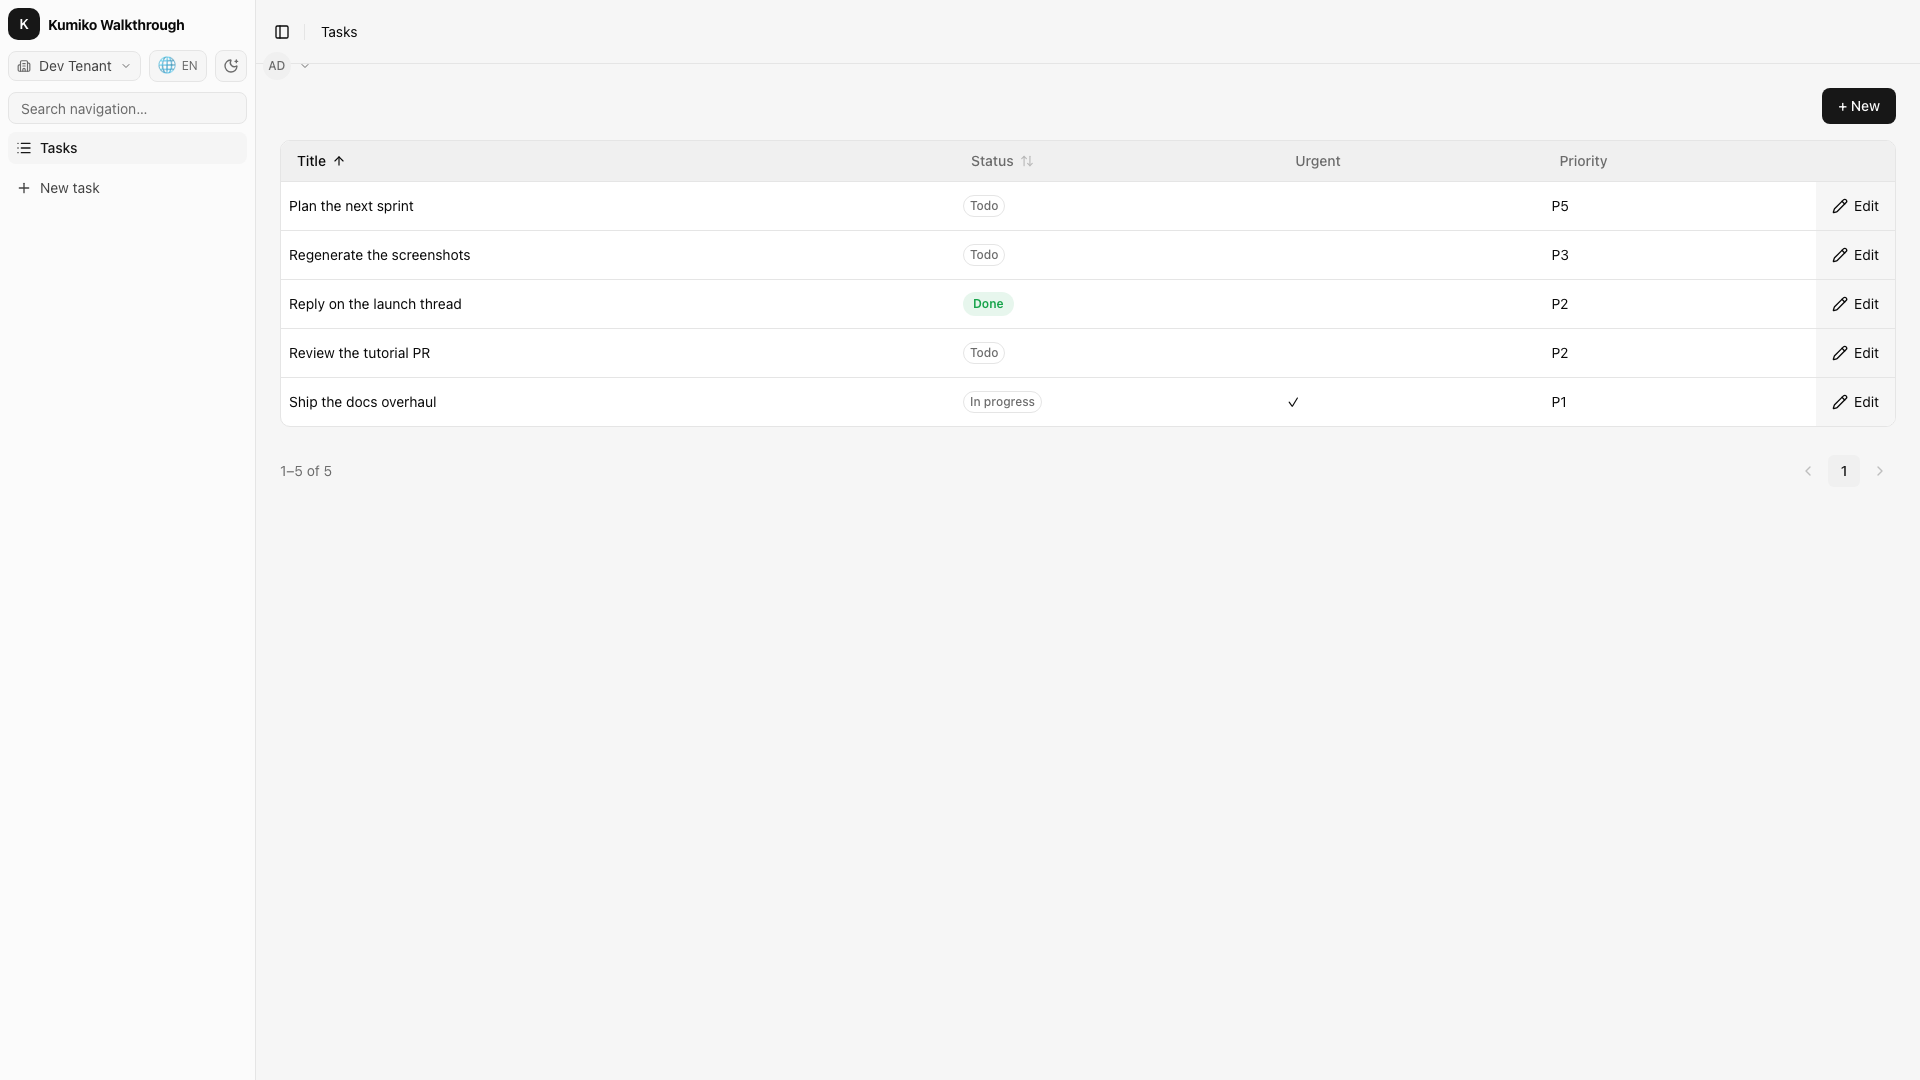
What the starter includes. kumiko new app scaffolds a demo tasks
feature: entity, CRUD handlers, list + edit screens, sidebar nav, and seeded
rows. You declare the shape once; Kumiko derives the table, API, access rules,
and admin UI.
At the end you understand:
- which files the scaffold created and what each does
- how the
tasksfeature wires entity → handlers → screens → nav - how to add a field and see it in the UI after
bun dev
Prerequisite: Bun ≥ 1.2.20. Follow the Quickstart
first if you do not have ./my-tasks/ yet.
Step 1, Scaffold (or use your Quickstart app)
Section titled “Step 1, Scaffold (or use your Quickstart app)”bunx @cosmicdrift/kumiko-cli@latest new app my-taskscd my-tasksbun installThe workspace includes src/features/tasks/feature.ts (full demo feature),
src/seed.ts (demo rows for bun dev), bin/dev.ts, src/client.tsx,
.env.example, and docker-compose.yml.
src/run-config.ts mounts secrets, sessions, and tasksFeature.
config, user, tenant, and auth-email-password are auto-mounted by
composeFeatures because bin/main.ts passes auth: { admin: { … } }.
Step 2, Configure env + boot validation
Section titled “Step 2, Configure env + boot validation”cp .env.example .envSet in .env:
JWT_SECRET=$(openssl rand -base64 32)KUMIKO_SECRETS_MASTER_KEY_V1=$(openssl rand -base64 32)Then validate without a database:
bun run boot[runProdApp] boot validation OK (8 features, 8 registry entries)That’s KUMIKO_DRY_RUN_ENV=boot: every feature mounted, dependencies resolved,
schemas validated, no Postgres or Redis.
Step 3, See it in the browser
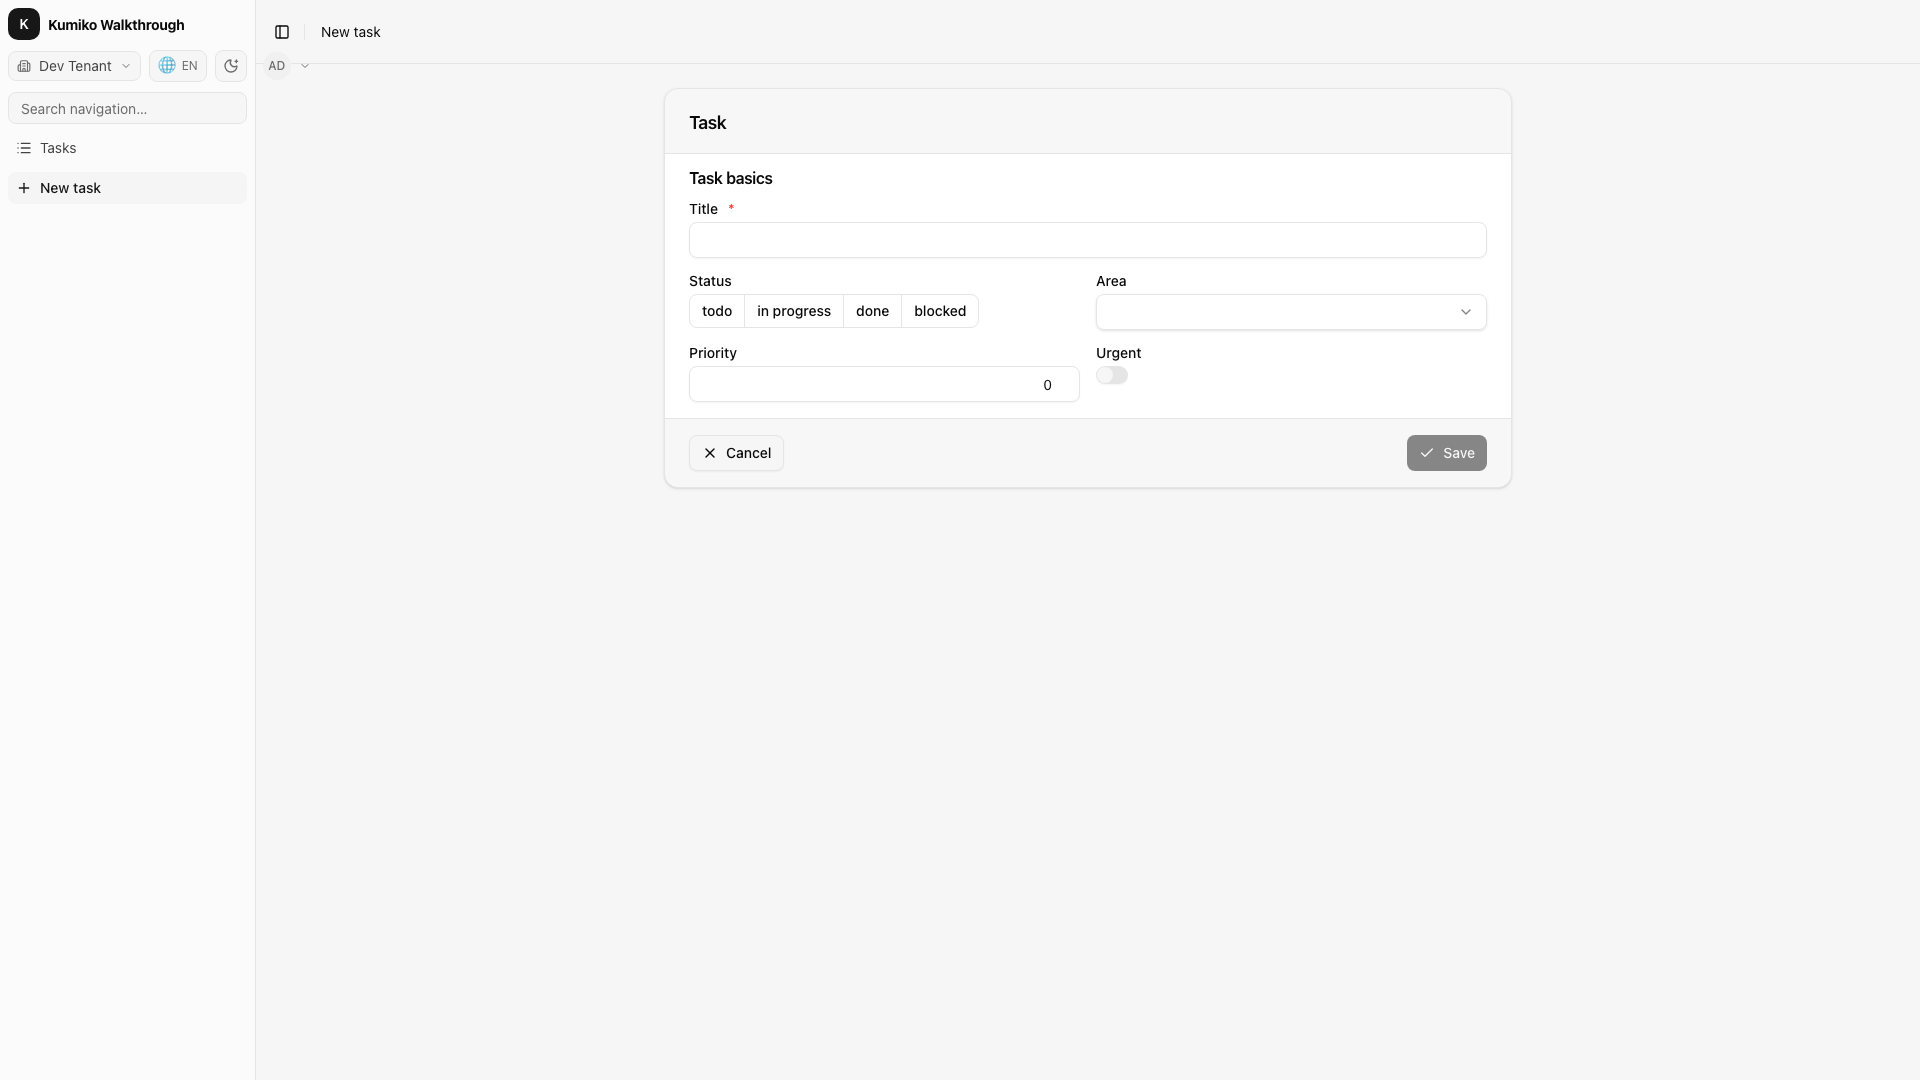
Section titled “Step 3, See it in the browser”docker compose up -dbun devThe welcome banner prints the URL (default http://localhost:4173) and admin
login. Sign in as [email protected] / changeme, open Tasks, demo
rows are already there:
What just happened
Section titled “What just happened”| File | What it does |
|---|---|
src/run-config.ts | Which features your app mounts (APP_FEATURES). |
src/features/tasks/feature.ts | Entity + handlers + screens + nav for the demo. |
src/seed.ts | Inserts demo tasks on first bun dev (idempotent). |
bin/dev.ts | Dev server + welcome banner + seeds: [seedDemoTasks]. |
bin/main.ts | Production bootstrap (bun run start). |
Step 4, Customize the starter feature
Section titled “Step 4, Customize the starter feature”Open src/features/tasks/feature.ts. The starter already declares:
taskEntity, fields (title,status,priority,isUrgent)- CRUD handlers,
defineEntity*Handlerfor create/update/delete/list/detail listScreen+editScreen, generated admin UI definitionsr.nav(...), sidebar entries pointing at those screens
Add a notes text field to see schema-driven UI updates:
// In taskEntity.fields:notes: createTextField(),Add "notes" to listScreen.columns and editScreen.layout.sections[0].fields.
Save, bun --watch reboots and the new column appears (dev mode auto-creates
the column; production needs bun run schema:generate).
Re-run boot to confirm composition still validates:
bun run bootStep 5, Add another feature
Section titled “Step 5, Add another feature”The starter’s tasks feature is yours to edit or delete. For a second domain
feature, use the CLI (scaffolds a bare entity, add screens when you need UI):
bunx @cosmicdrift/kumiko-cli add feature notesThis creates src/features/notes/ and auto-mounts it in src/run-config.ts.
Next steps
Section titled “Next steps”- Mount bundled features (
audit,delivery,tier-engine, …) insrc/run-config.ts. - What you get, full capability tour.
- Concepts, why Kumiko works the way it does.
- Patterns, complete
r.*API reference.
If something does not match this doc, open an issue.